How to Create Robot File.

File robot s.txt is one of the most important points in SEO technical It's a file containing instructions for search engines or robots. This file is useful for notifying any page or directory that may or may not be accessed, indexed, or displayed in search results. By using robot file .txt, you can improve your website performance and optimize SEO.
What's a robot file?

A robot is a term used to call the bot or the crawler visiting website on the Internet. The most common example is robots from Google, Bing, Yahoo, and other search engines. This robot is responsible for exploring your website and gathering information about content, structure and keywords on it. This information was then used to rank your website in search results.
However, not all pages or directories on your website need to be accessed or indexed by robots. For example, you may not want robots accessing admin, login, plugins or files that are personal or sensitive. You also may not want robots indexing duplicated pages, archives or pages that aren't relevant to your website topic. This can reduce the quality of your website and affect SEO.
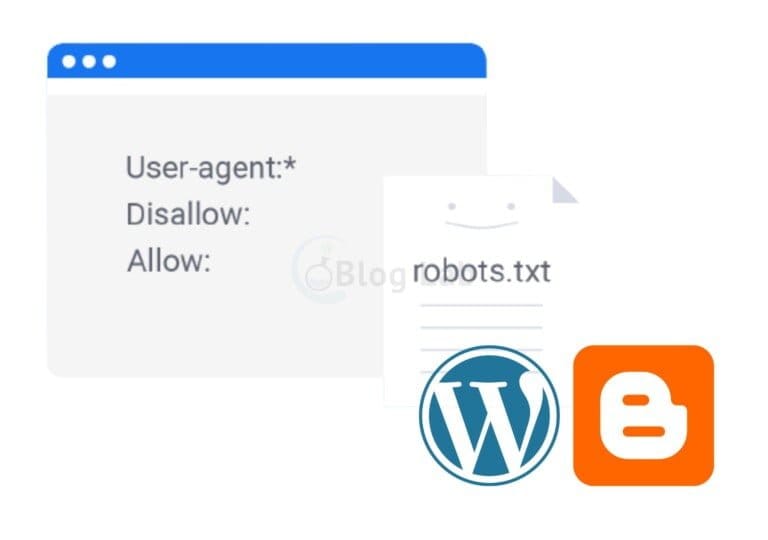
To address this problem, you can use the robot file. Robot file .txt is a simple text file containing rules called directives. Directives consist of two parts: user-agent and disallow.
UserYou can specify a specific robot or all robots by using a star sign (*). Disallow is a page or directory that you want to prevent robots from accessing or indexing. You can write the full path or part of the page or the directory. If you don't want to ban anything, you can use slash (/).
Model robot file .txt at WordPress is as follows:
User-agent: *
Disallow: /wp-admin/
Disallow: /wp-includes/
Disallow: /wp-content/plugins/
Disallow: /wp-content/themes/
Disallow: /login/
This file means that all robots should not access or index directories wp-admin, wp-include, wp-content / plugins, wp-content / themes, and login.
How to Create Robot File.

WordPress automatically created a robot file. WordPress every time a robot visits your website. You can view this file by adding / robot s.txt at the end of your domain name.
The robot file.
User-agent: *
Disallow: /wp-admin/
Allow: /wp-admin/admin-ajax.php
This file means that all robots should not access the wp-admin directory, except the admin-ajax.php file used for some WordPress functions.
If you want to edit or add other rules to robot files.
1. Use Yoast SEO Plugin
Yoast SEO is one of the most popular SEO plugins for WordPress. This plugin has features for creating and editing robot files. Here are his steps:
- Install and activate Yoast SEO plugin on your WordPress website.
- Open the SEO > Tools menu in your WordPress dashboard.
- Select the Editor File tab.
- Underneath Robots.txt, you will see the robot file.
- Edit or add the rules you want to rule to that file.
- Click Save changes to robot .txt to save your changes.
2. Using All in One SEO Pack Plugin
All in One SEO Pack is another SEO plugin popular for WordPress. This plugin also has features for creating and editing robot files. Here are his steps:
- Install and activate All in One SEO Pack plugin on your WordPress website.
- Open the All in One SEO > Feature Manager in your WordPress dashboard.
- Enable Robots.txt features by clicking Activate.
- Open the All in One SEO > Robots.txt in your WordPress dashboard.
- Underneath Edit Robons.txt, you will see the robot file.
- Edit or add the rules you want to rule to that file.
- Click Robots.txt Update to save your changes.
3. Uploading Robot File .txt Through FTP
If you don't want to use a plugin, you can create a robot file on your own and upload it to your server via FTP. Here are his steps:
- Open editor text applications such as Notopad or Sublimite Text on your computer.
- Create a new file and name the robot.
- Write the rules you want to file them.
- Keep those files on your computer.
- Open FTP applications like FileZilla or Cyduck on your computer.
- Connect to your hosting server by entering your host, username, password and port provided by your hosting provider.
- Search public _ html or root folders on your server.
- Upload the robot file.
Now that's for the process of making robot files. Yoast SEO Plugin.
How to Create Robot File.

Blogger is a blogging platform owned by Google. Blogger Also automatically create a robot file. You can only add extra rules to this file via the blogger settings. Here are his steps:
- Log into your Blogger account and select the blog you want to edit.
- Open the Settings > Search preferences menu in your blogger dashboard.
- Under the Crawlers and indexing section, click Edit next to Custom robot.
- Check the Enable custom robot box..
- Under the text box, you'll see the robot file.
User-agent: Mediapartners-Google
Disallow:

User-agent: *
Disallow: /search
Allow: /

Sitemap: https://example.blogspot.com/feeds/posts/default?orderby=UPDATED
This file means that Mediaparters Google robots (used for Google Adsense) may access all pages on your website, while other robots may not access search pages (/ search) but access other pages (/). This file also provides a cymbap (site map) for the robot.
- Add the additional rules you want to text box, under the existing robot file.
- Click Save changes to save your changes.
That's how the article is about how to make a robot file. Hopefully this article will be useful for those of you who want to organize robot access and indexation to your website. Robot file s.txt is one of the most important factors for SEO, so make sure you make it right and fit your needs. Thank you for reading. 😊


